
Hey there!
If you’re new to WordPress or just looking to give your site a little branding boost, you’re in the right place. In this quick tutorial, I’ll walk you through how to change the logo on your WordPress website — even if you have zero coding experience.
Let’s dive right in!
Step-by-Step: How to Change Your WordPress Site Logo
- Log into your WordPress Admin Dashboard
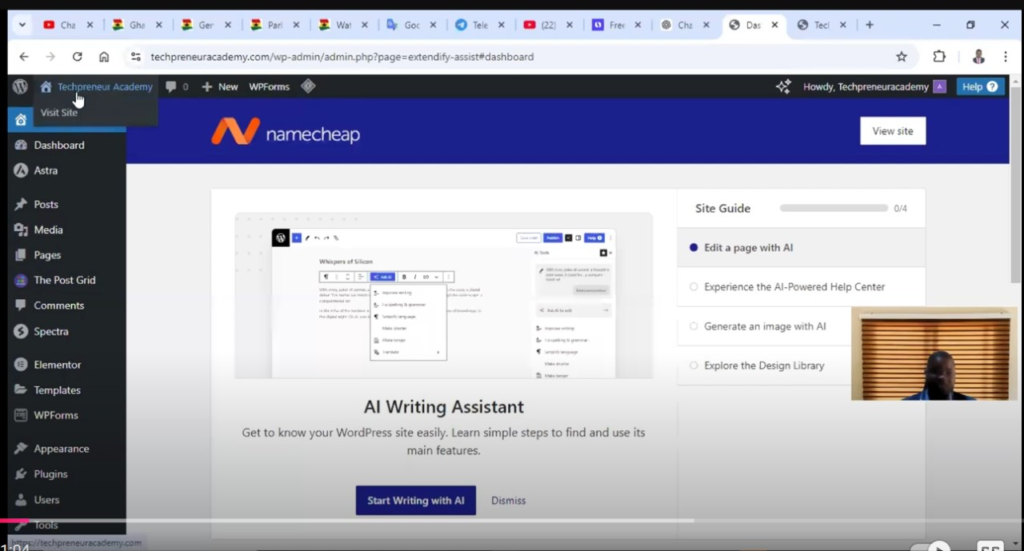
Start by logging into your WordPress backend. This is where all the magic begins. - Click on ‘View Site’
At the top of your dashboard, you’ll see ‘View Site’. Click on that to move to the front end of your website. - Enter the Customize Section
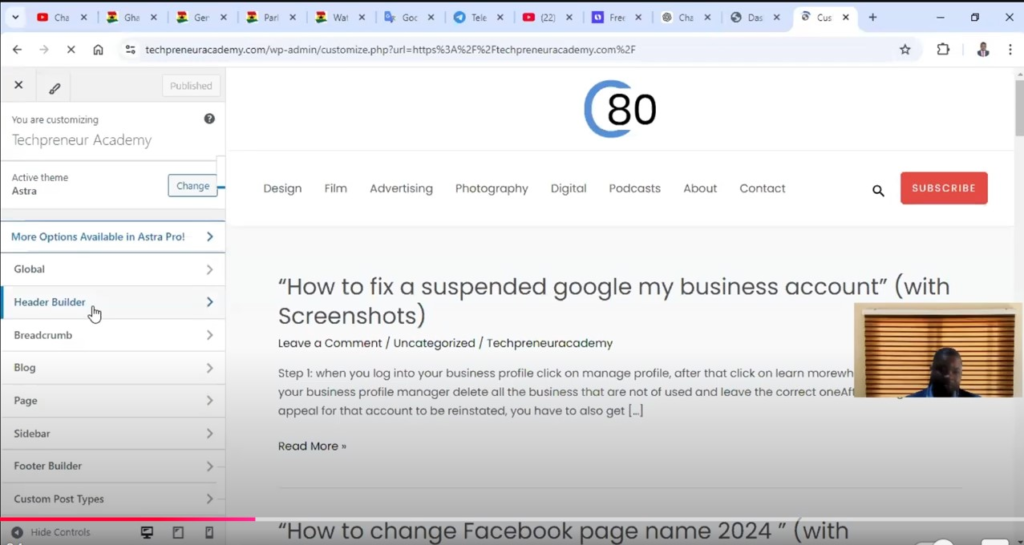
Once you’re on your live site, look at the top and click on ‘Customize’. This opens the WordPress Customizer panel where you can tweak your site’s appearance. - Go to Header Builder
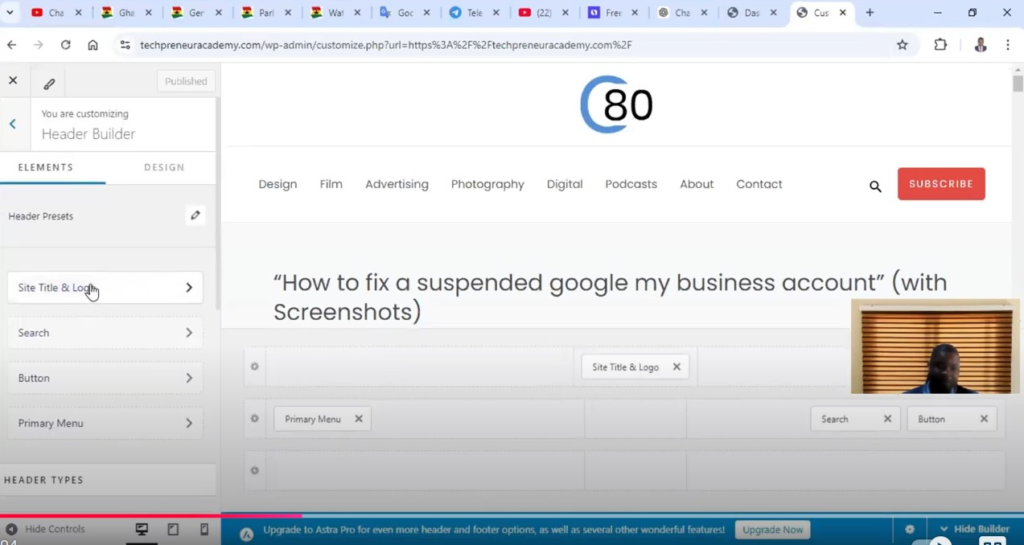
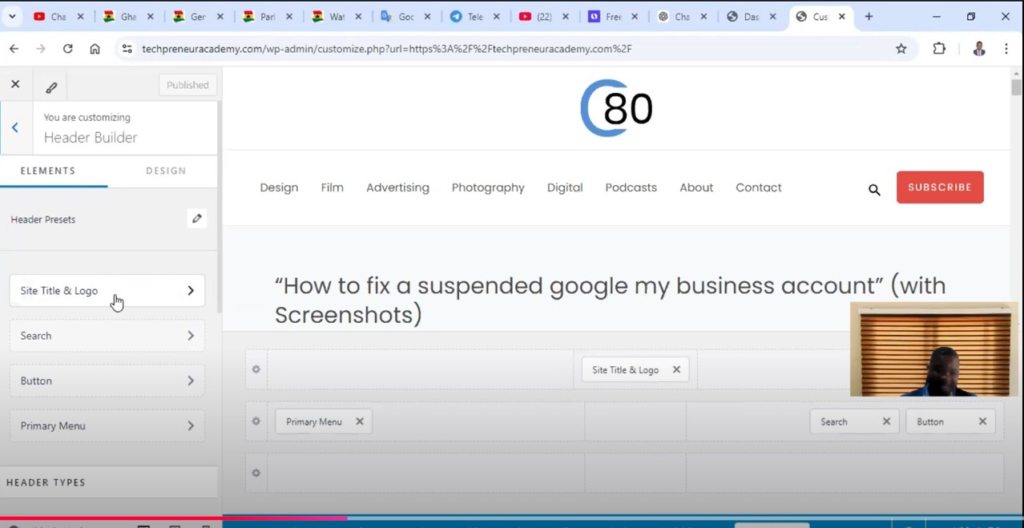
In the customizer menu, find and click on ‘Header Builder’ (depending on your theme, this might say ‘Header’ or something similar). - Choose Site Title and Logo
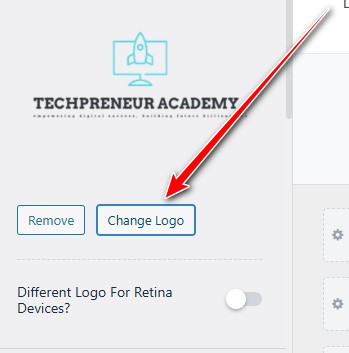
Next, click on ‘Site Title & Logo’ or anything similar depending on your theme layout. - Click on Change Logo
Click the button that says ‘Change Logo’, and this will open your media library. - Upload Your New Logo
Select your new logo from your media library or upload one from your computer. - Skip Cropping (Optional)
If your logo already has the right size, just click ‘Skip Cropping’. - Click Publish
Finally, hit the ‘Publish’ button at the top to save your changes. And you’re done!
Don’t forget to check out the video tutorial for a more hands-on guide.
Found this article helpful? Share it with others who may need to change the logo of their website in WordPress too! For more Facebook and business management tips, subscribe to our newsletter or follow us on social media.