How to Fix “Ad Account Disabled Due to Unusual Activity” on Facebook (Step-by-Step)
Have you ever tried to run Facebook ads only to be met with the dreaded message:
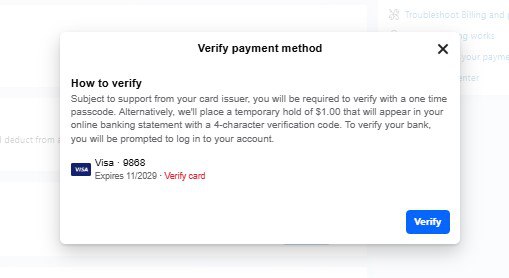
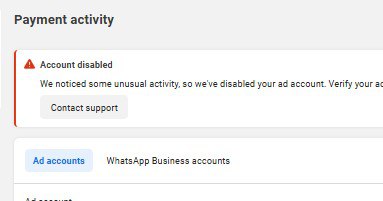
“We noticed some unusual activity so we’ve disabled your ad account”?
If yes, don’t worry, you’re not alone, and in this post, I’ll walk you through the exact steps to fix it.
How to Fix “Ad Account Disabled Due to Unusual Activity” on Facebook (Step-by-Step) Read More »